Showing posts with label digital die cut. Show all posts

Oct 22, 2014

Bee Party Favor Gift Box (SVG, PDF files)


I've been a busy bee, making the latest creature in my party favor box collection, based on my first Ladybug.


His stripes are all held together with just two brads on the side.


My favorite part is how the vellum wings stick up all on their own.


As with all the boxes in this series, the bee is a good fit in my palm. He's now available in my shop.


Oct 5, 2014

Snail Party Favor Gift Box


I'm having way too much fun with these box ideas right now - I can't seem to stop the ideas. Here's my latest, a snail box, complete with slime trail too!


This idea came to me when I bought my first ever box of brads by Recollections, called Metallic Mini Circles. The gold one came tumbling out and boom! I thought of shells.


Even though I rounded the antennae up for the ladybug box, I found it didn't really add much nuance to the box. In the case of the snail though, the added googly eyes really makes it!


I really wanted to capture the spiral of a snail's shell. It seems so simple and obvious that all it took was inserting the brad into each flap – quite fun to make them come together.


And one last detail that just could not be overlooked - a trail of slime, made of clear plastic.


It's a good hand size for storing treats for your guests. The Snail Box is now listed in my shop.

Oct 1, 2014

Turtle Party Favor Gift Box


After making the ladybug box, it just seemed logical to make this turtle box, complete with accented mole. I think my nephews would prefer making this guy, as the ladybug is likely too girly for them.


Sep 28, 2014

Apr 13, 2014

DIY Mason Bee Hive of Paper


Our wonderful neighbors have the busiest pets - mason bees! They only live 2 months but help pollinate our plants during a crucial time. Our blueberry bushes were the fullest they've ever been last year and our neighbors are generously sharing their extra cocoons with us.

Although they also gave us a pre-made house, there are so many extra cocoons that I wanted to build a second house - out of paper of course. It's easy enough to buy paper straws, but where's the fun in that?


When the bees hatch, they remember the color of their "door" - in this case green, to match the tissue box. I made a removable velcro door "lock to keep the door from moving around, yet allow the paper tubes to come out. I will be placing the cocoons inside the hollow door cavity. Here you can see the opposite side of the velcro and the other door stopper along the top.


Remove the door stoppers and out comes the paper tubes. Mason bees don't sting (unless squeezed or stepped on) and they don't make honey - just more bees. They lay eggs in the tube, place pollen next to the egg, then mud up a wall to divide the space for the next egg. In the fall when the cocoons have hardened, it's a good time for us to clean out the tubes, remove the mud, get rid of spider mites and store in the fridge to keep them safe from predators like wasps.


I've heard with store-bought paper tubes you would soak them in water to slowly unravel. To make it easier on myself, I only glued a tiny bit near the back end to make insertion into my hive easier - should be easy to slit open with a craft knife. I cut sheets of 8.5x11 paper in half to get 8.5x5.5 sheets. Then I cut them down into thirds to approximately 2.75 x 5.5 inches (so 6 pieces in total per sheet). I rolled them around a crochet hook, glued just the very end, and inserted into the holders.


I made two tube holders with 8.5mm holes. The front holder has holes on both sides, allowing the tube to pass through. The back holder is solid on the back wall, keeping the tubes even. I plan to color code the front wall to make it easier for them to find their tube - apparently they get confused if it all looks the same.

I have no idea if this will work - check back with me in the fall. There are many tutorials on-line showing so many materials used. One could buy the paper tubes and encircle with a rubber band and achieve the same result. I guess I could have made it full of tubes and no holders, but it was just fun to make the holders with my Silhouette SD die cutter.

Have you ever made a paper mason bee hive?

Nov 3, 2013

Paper Orchid Sneak Peak


Thank you to those who have been asking about my paper orchid pattern. I had hoped to have it ready last week but after finishing my square card I realized it needs a protective box while being handed to the recipient.


Since I don't have much experience with orchids until my first one last year, I never knew they grew in so many amazing patterns and colors until I started researching how to show different decorating options.

I also wanted to give a 2nd card option that was faster to make but had a nod to the orient. So until I finalize everything, please bear with me, and thank you for your patience!

Jan 23, 2012

Quilled Mickey Mouse


This is a birthday gift for a girl who is fanatical (way beyond being a fan) of Mickey Mouse. She makes me laugh even while I’m crying, which is just one of the magical things about her.

Here’s how I started Mickey:   1) Traced and cut Mickey’s outline.   2) My sketchbook of how I imagined shooting out fireworks from his hands.   3) As I curved each strip with 80lb cover thick quilling paper (I cut my own), I’d put it aside to glue at one time.   4) Using a light table helped me see where some lines travel from outside into his body.   5) Even a small amount of error would show.   6) Had to cut the corner to trim off excess to fit.   7) Completed Mickey outline. I had left the hands undone, to allow fireworks dictate paths.   8) Side shot of outlined Mickey. I used a black felt to shade in the thin white backing that sometimes peeked out from the side.   9) Just a few scraps of paper from the “cutting room floor” as each strip was made to fit.


I had initially hoped to quill something remotely like Yulia Brodskaya’s with movement, but as I went along I realized Mickey is so definitively Mickey, and to insert lines where the artist did not draw them kind of took away from Mickey – especially his shorts, which just kept looking like striped pjs! It took an hour just to fill the left shoe with her initial “B”.

As I finished his shoes I realized how much the color along the sides glowed almost neon-like into the white backing and realized I didn’t need to fill in his face or shorts after all. I decided not to quill in them at all, and instead applied glue to each “wall” and pressed the quilling paper against the black. Since the black outline was made of thicker paper, it could withstand that much pressure – I don’t think a regular thin strip could manage so easily. I used tweezers to ensure tight corners and pre-softened my quilling paper beforehand by giving it a soft curl.

I formed his nose with a tight coil and squished in between tweezers to form the oval, flipped it upside down and gently pushed it out, then glued in place on the inside. I’ve included a close up of the red ovals in his shorts so you can see my work is far from perfect, and by then my neck said “good enough already!”


Here are some experiments with fireworks. In the end, I cut out long teardrop shapes on my Silhouette die cutter and enjoy the dimension they add when seen from the side. I used a hole puncher to cut a circle from a post-it note and inked in a center dot. This helped me visualize the center as I glued each spark in place. After much debate (my poor hubbie), I decided to have the fireworks stream up on their own accord rather than from Mickey’s hands. I simply ran out of room (I had already bought the 8×8 frame and it was the day of the birthday – gulp!).

Admittedly, Mickey kind of looks like he’s had a tattoo job, but I was really striving for a “magical” kind of outfit – ah well, next year… The fireworks paper was metallic  Stardream in a text weight.


Oct 1, 2011

Die cut spider


Scary movies know thrills are intensified by allowing your imagination go wild before they reveal the ending. Here's my teaser - stay tuned for more. Happy 1st of October!

Mar 21, 2011

Silhouette Pen Comparison

Found a pack of 12 Mini Gel Pens from Staples for $4 and hoped it would fit my pen holder from Silhouette. I was disappointed to see the pen won't go into the holder all the way. The Pentel Metallic Gel Roller fits though!


I took Staples and Silhouette pens apart and realized the Staples pen length was longer, but other than that it was about the same as Silhouette's pens. So I stuck the cap on top and taped the whole thing to prevent it from moving. After my Silhouette pens run out, perhaps I'll just cut down the Staples length and that will be my instant refill.

Here are the comparisons of all 3. Just click on the thumbnails to see a good enlargement of the details.

Feb 24, 2011

Animal Gift Boxes / Party Favors

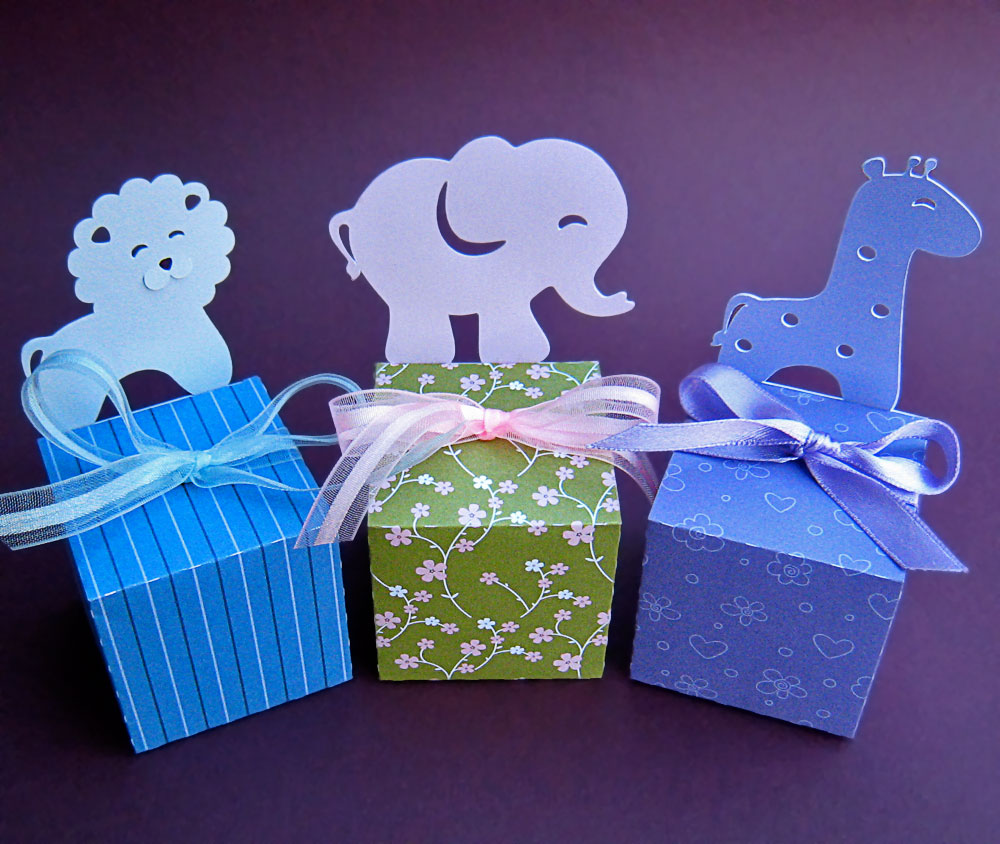
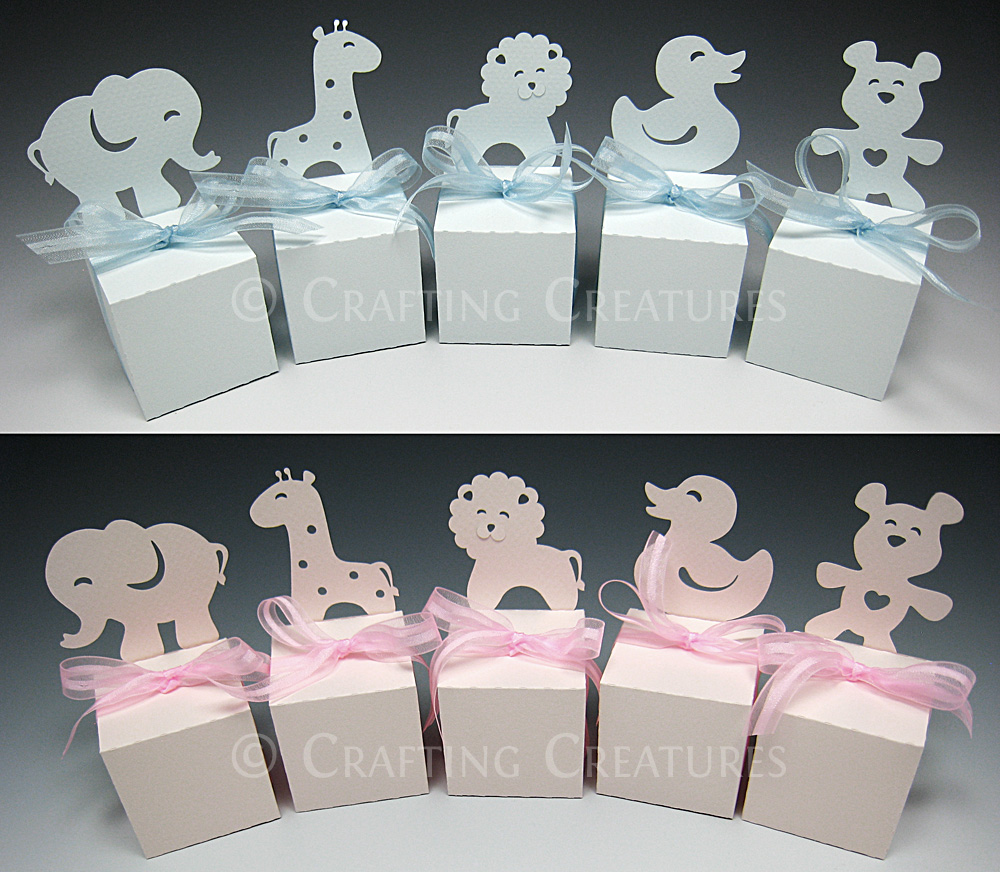
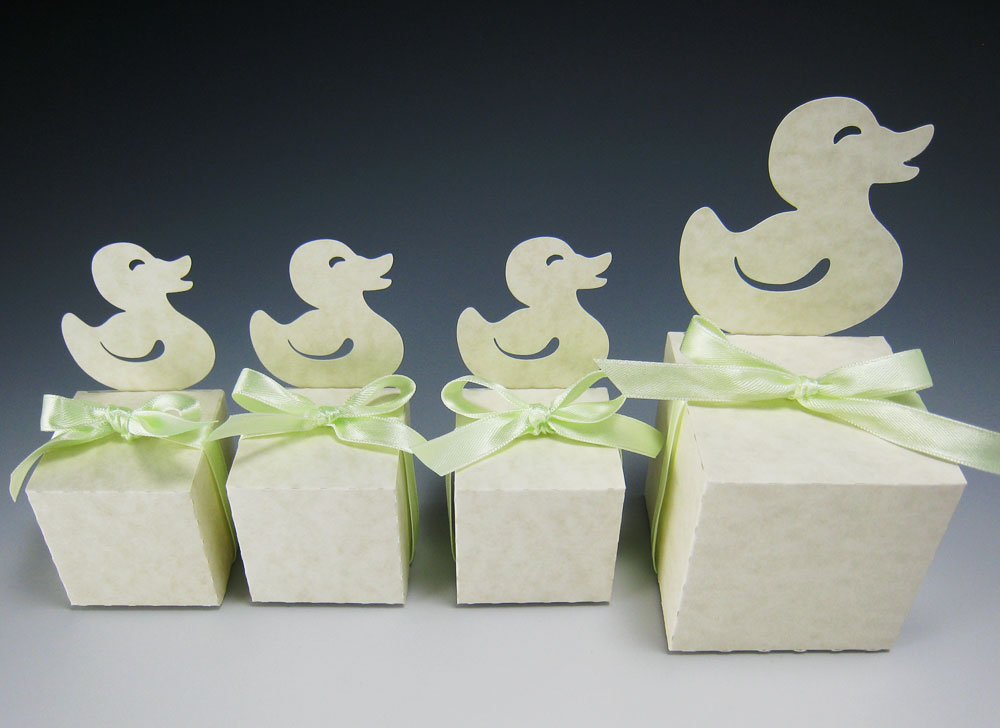
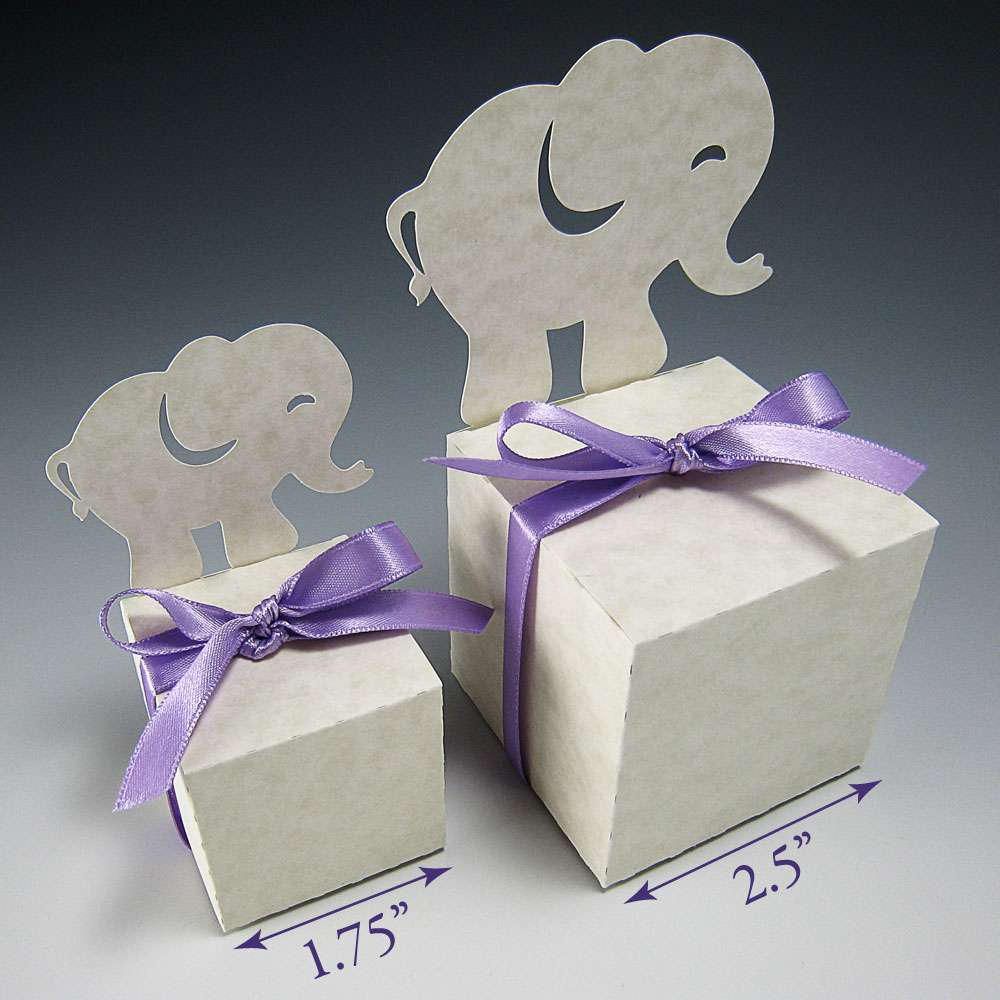
I have wanted to make these party favors since laying hands on my Silhouette die cutter, as I've always been into boxes. After quite the learning curve, I've finally posted my patterns on Etsy. I've made 5 different animals, perfect for a baby shower or a jungle themed birthday. Thanks for looking!


Feb 15, 2011

Transformer Birthday Card (Vinyl)

My most complicated die cut vinyl card to date – 5 colors and tiny details that added up to a card I hope my 11 yr old neffy-poo will remember. I got the vector file at Vector Junky but some of the details were so fine I had to open up the areas, as it kept getting caught in my blade.

Feb 14, 2011

Silhouette vs Cricut Adhesive Mats

 
The debate over which model of digital die cutters has been going on for years. I hadn’t realized Cricut was not limited to cartridges, and was able to cut anything I designed using third party software called Sure Cuts A Lot (SCAL). So of course I had concerns about my Silhouette (aka CraftRobo), which is not as wide and can’t cut as thick. My doubts were finally assuaged after seeing this wonderful post by Kwerner Design, showing the differences in cutting. So although Silhouette wins hands down on cutting finesse, I’d have to say Cricut’s mats trump Silhouette’s.

The Silhouette mat (8.9″ x 13.5″) is thin, so if I cut too deeply, I could go through it if I used the deep blade depth on thin paper = ruining my $25 blade. The adhesive is evenly coated, so my paper and card stock curls until enough lint has been worked into the surface. It helps if I put my paper face down on the table and peel the mat away.

Then I learned Cricut sold mats double in length (12″x24″) and cost half the price at Joann‘s – I just trim it down to fit. Not only is it thicker by far, you’ll notice a mottled texture in my close up shot – I think it helps with the release of my paper. I’ve seen videos showing blotting the mat with a clean white t-shirt until that perfect stickiness is achieved. I love having the best of both worlds.

Jan 11, 2011

Ice Salt Shaker

Winter has come to Vancouver and instead of reaching into the plastic bag of salt (which is always in a threatening state of spilling because we’re too lazy to re-tie), I decided to poke holes in the lid of a a plastic container (held nuts) to make myself a large scale salt shaker. I was given an industrial strength hole puncher used in shipyards – it cut through the 1/8″ plastic lid like butter. Of course, I just had to customize it with my die cutter. Note: don’t leave it outside, as salt can solidify into a single block.


Oct 4, 2010

Die Cut Dragonflies

I envisioned a dragonfly cut from translucent paper to allow light to pass through the wings. The wings are supported by a base to give it varying heights. The body is glued on top and the tail is slight curved, which hubby assures me is more realistic (he knows from catching enough of them). I wonder if it would make a nice mobile or wall art – fragile though.