Showing posts with label silhouette. Show all posts

Jun 17, 2016

Tutorial - How to Re-stick a Cutting Mat


how to make cutting mat sticky again


I've had a collection of dying, dead, and really dead cutting mats in my drawers ever since I bought my first electric cutting machine, a Silhouette SD.  They have been waiting there all these years for a resurrection because I loathe trashing plastic and knew I'd find a method of re-applying an adhesive that I'd like some day, and that day is here.

I have tried using 2-way Zig glue, but found residue on my paper, even after it had dried for days. I tried using large sheets of double-sided adhesive (courtesy of a local signage store who was throwing it out), but I would inevitably cut through that layer and would end up having to peel it off my own cut pieces. A friend showed me a video of someone diluting Aleene's Tack It Over and Over Again with water and brushing it onto her mat.


I decided it give it a try, but without dilution nor a brush. I wanted to smear the glue, just like I always do when I'm quilling. I was so pleased to see it work so well! I was able to re-use my mats and no adhesive came away with my paper. The adhesive is smooth and grips card stock almost too well.

how to make cutting mat sticky again

On my first attempt, I didn't realize the thickness of the masking tape would end up yielding a much thicker area than the middle. It ended up gripping my card stock so strongly that I left pulp behind. With the photo above, you can see the reflection of where the build up of adhesive is, near the tape. In my video, I have deliberately scraped harder so it has much less strength. It still grips card stock very well, but now it doesn't separate the fibers – love it!


After filming, I had some dried glue on my fingers. I happened to have some rubbing alcohol on hand, and found it to be as effective as the Goo Gone I've seen others use.

If you give it a try, I'd love to hear about it. Please do leave a comment and let others learn from your experience too!

Oct 22, 2014

Bee Party Favor Gift Box (SVG, PDF files)


I've been a busy bee, making the latest creature in my party favor box collection, based on my first Ladybug.


His stripes are all held together with just two brads on the side.


My favorite part is how the vellum wings stick up all on their own.


As with all the boxes in this series, the bee is a good fit in my palm. He's now available in my shop.


Aug 3, 2014

Die Cut Star for Birthday Gift Topper


So I bought a birthday card. GASP! I know, I know. You have to cut me some slack though, as we've been ripping out carpet to install wood flooring. Besides, the card was about aliens and have glow in the dark sticker eyeballs for him to play with, a great compliment to our headlamp gift.

Anyway, as I went to write our nephew our birthday wishes, ink came splooshing out of my Sharpie marker. Why? Because I read that if you have a dry marker, let it soak up rubbing alcohol and it'll be revitalized. Well it was so full of life it couldn't wait to leave it's mark.


Silhouette to the rescue! I grabbed some metallic silver vinyl and cut out the first letter of his name. I then added some more vinyl stars around the card to make it look on purpose.


Of course since my beloved cutter was already on, and I needed a bow to top off the wrapped present, I decided to make the star G much larger, in the form of a tent card.


Adding rectangles to the bottom and overlapping the top and bottom star points, it allowed me to connect all the tent card pieces together and quickly add this on top of his gift, a great foreshadowing of what's inside.


It was supposed to be a quick gift wrap session and let me get back to "home-work", but happy accidents like this make me grateful I was delayed.

Aug 9, 2013

Printable quilled thank you card and envelope


I'm so excited to introduce my new blog and paper direction! Paper Zen describes both how tranquil I feel when working with paper, and the enlightenment I hope my work gives others.


I'd like to thank all my previous readers of Crafting Creatures and any new ones who've found me here by giving you my quilled Thank You card. It's a printable PDF with score/cut marks to make a 6" x 4" card. It'll be for sale in my Etsy shop afterwards, so grab it while it's free.


I also designed a matching fillable envelope (simply type in the recipient's name). It has score marks and trimming outline as well.

 
I have always loved the retro look of banner ribbons, a vintage look that's come back in style big time. I used my Silhouette digital die cutter to cut the banner, then shaped it just so. A simple die punch made the flowers which I sculpted with a burnisher. The quilling is 3D, because I didn't glue it all down so it's more free flowing, casting soft shadows. Lastly I shot a photo of the layout, then added my text following the curve. I thought brides and grooms could also use this card to give their guests because yellow and grey seems to be quite a popular combination lately.


Until Aug 16, 2013, if you leave your email in a comment below, I'll send you a downloadable link for my printable card. If you have time, I'd be grateful for your thoughts on my new work, how it prints on your printer, or how the recipient enjoyed it – thanks!

Mar 21, 2011

Silhouette Pen Comparison

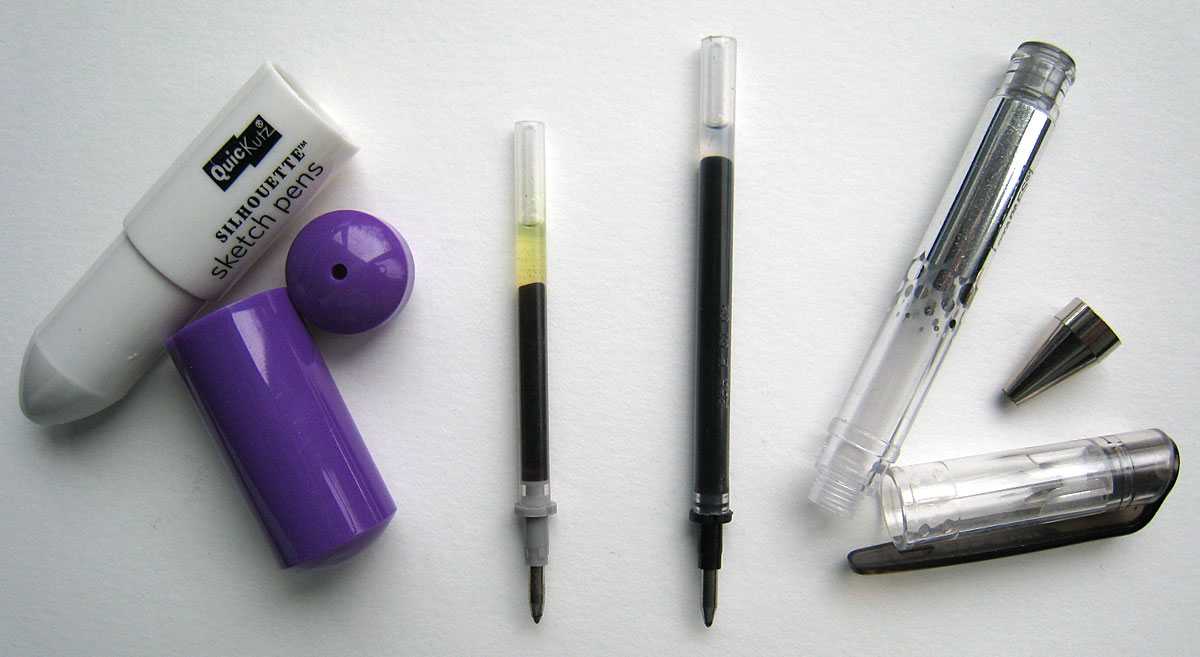
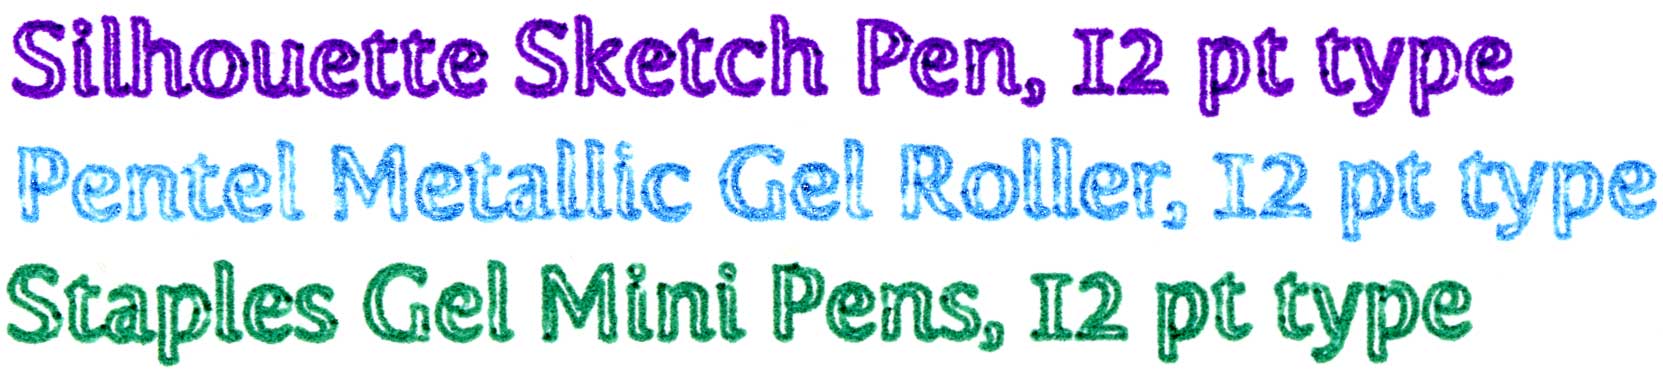
Found a pack of 12 Mini Gel Pens from Staples for $4 and hoped it would fit my pen holder from Silhouette. I was disappointed to see the pen won't go into the holder all the way. The Pentel Metallic Gel Roller fits though!


I took Staples and Silhouette pens apart and realized the Staples pen length was longer, but other than that it was about the same as Silhouette's pens. So I stuck the cap on top and taped the whole thing to prevent it from moving. After my Silhouette pens run out, perhaps I'll just cut down the Staples length and that will be my instant refill.

Here are the comparisons of all 3. Just click on the thumbnails to see a good enlargement of the details.

Feb 15, 2011

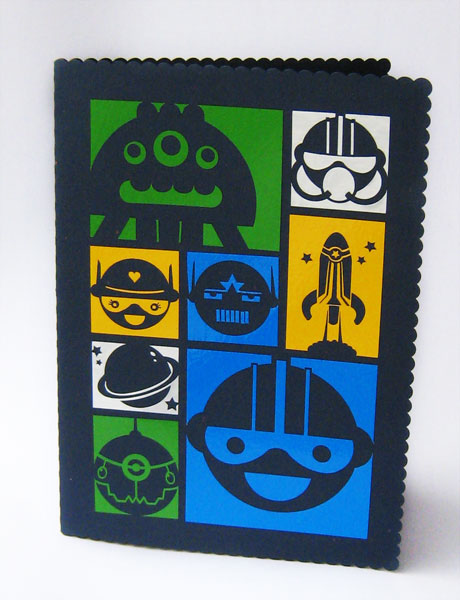
Transformer Birthday Card (Vinyl)

My most complicated die cut vinyl card to date – 5 colors and tiny details that added up to a card I hope my 11 yr old neffy-poo will remember. I got the vector file at Vector Junky but some of the details were so fine I had to open up the areas, as it kept getting caught in my blade.

Jan 11, 2011

Ice Salt Shaker

Winter has come to Vancouver and instead of reaching into the plastic bag of salt (which is always in a threatening state of spilling because we’re too lazy to re-tie), I decided to poke holes in the lid of a a plastic container (held nuts) to make myself a large scale salt shaker. I was given an industrial strength hole puncher used in shipyards – it cut through the 1/8″ plastic lid like butter. Of course, I just had to customize it with my die cutter. Note: don’t leave it outside, as salt can solidify into a single block.


Oct 18, 2010

Birthday Cards in Vinyl

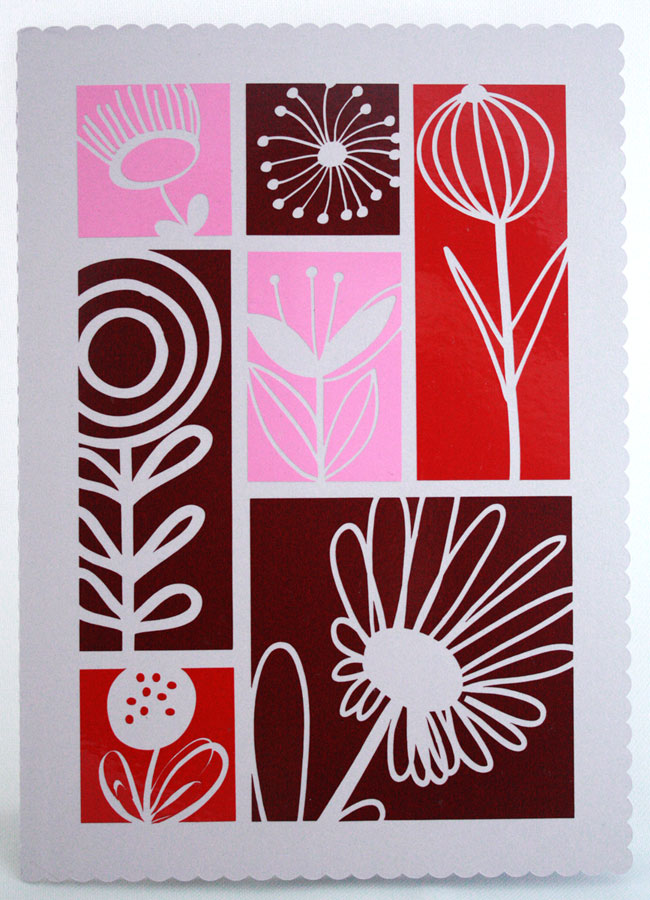
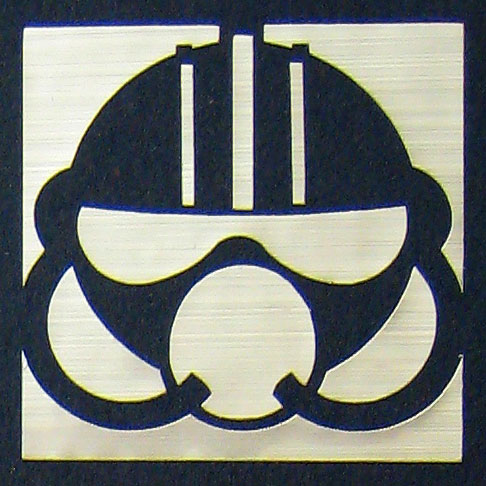
Saving these scraps of vinyl from the landfill gives me a total thrill because something so nice can be made from nothingness – kind of like a MacGyverism. Still learning which fine lines don’t cut well on vinyl. I was shocked brushed metal (kind of like heavy duty aluminum foil sticker material) is offered in vinyl and couldn’t wait to use it on the blue card – it just made it!
I used Adobe Illustrator to layout the elements, and Sillhouette/Craft Robo to cut vinyl, then manually aligned as straight as possible. The vector illustrations are free and found via these links: Lovely Flowers / Happy Space Pack

Oct 4, 2010

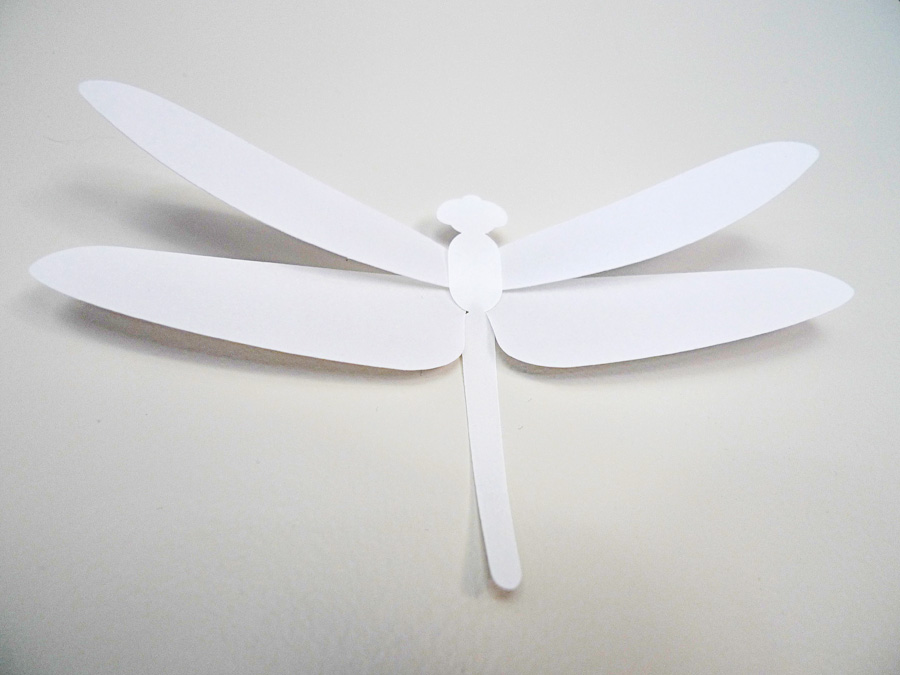
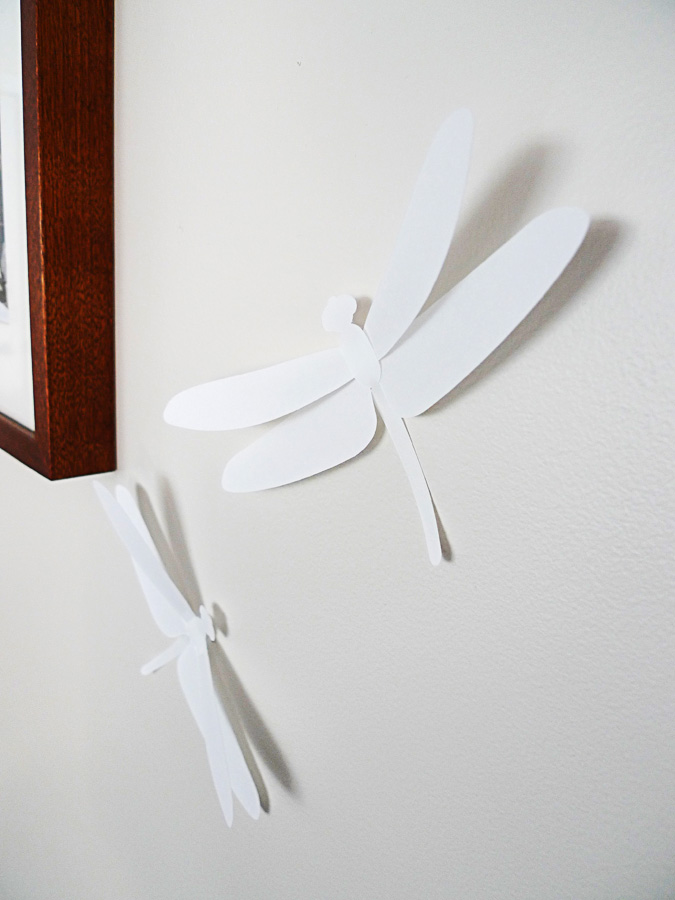
Die Cut Dragonflies

I envisioned a dragonfly cut from translucent paper to allow light to pass through the wings. The wings are supported by a base to give it varying heights. The body is glued on top and the tail is slight curved, which hubby assures me is more realistic (he knows from catching enough of them). I wonder if it would make a nice mobile or wall art – fragile though.