Mar 12, 2014
Easter Egg Planet
Inspired by Jeffery Rudell's post, Oeuf Couture: How to Dress an Easter Egg, I couldn't stop all the ideas that kept cropping up (see previous Easter Egg Spaceship).
This is a black box about 5.5 inches squared. The letters are cut from metallic silver vinyl.
The black paper is Canson Mi-Tientes. The simple purple ribbon helps to open the lid and foreshadows a hint of Easter without giving too much away.
Once open, a floating planet is set against a galaxy of stars.
Like a jaunty hat, it's rings are tilted off to the side. Wait a second, upon closer inspection...
...that's no sphere – it's an egg!
It comes apart – the ring is cut from Stardream metallic silver cardstock (got mine at Paper Poet) and simply rests on top of the egg. The egg is held aloft with a trimmed skewer stick that's been blackened with a marker.
I used Pearl Posca metallic markers to dot stars in the background. I would have used yellow but my set didn't come with one. It's about as Easter as I could make it.
I used this Pittsburgh punch set to make a hole for the skewer.
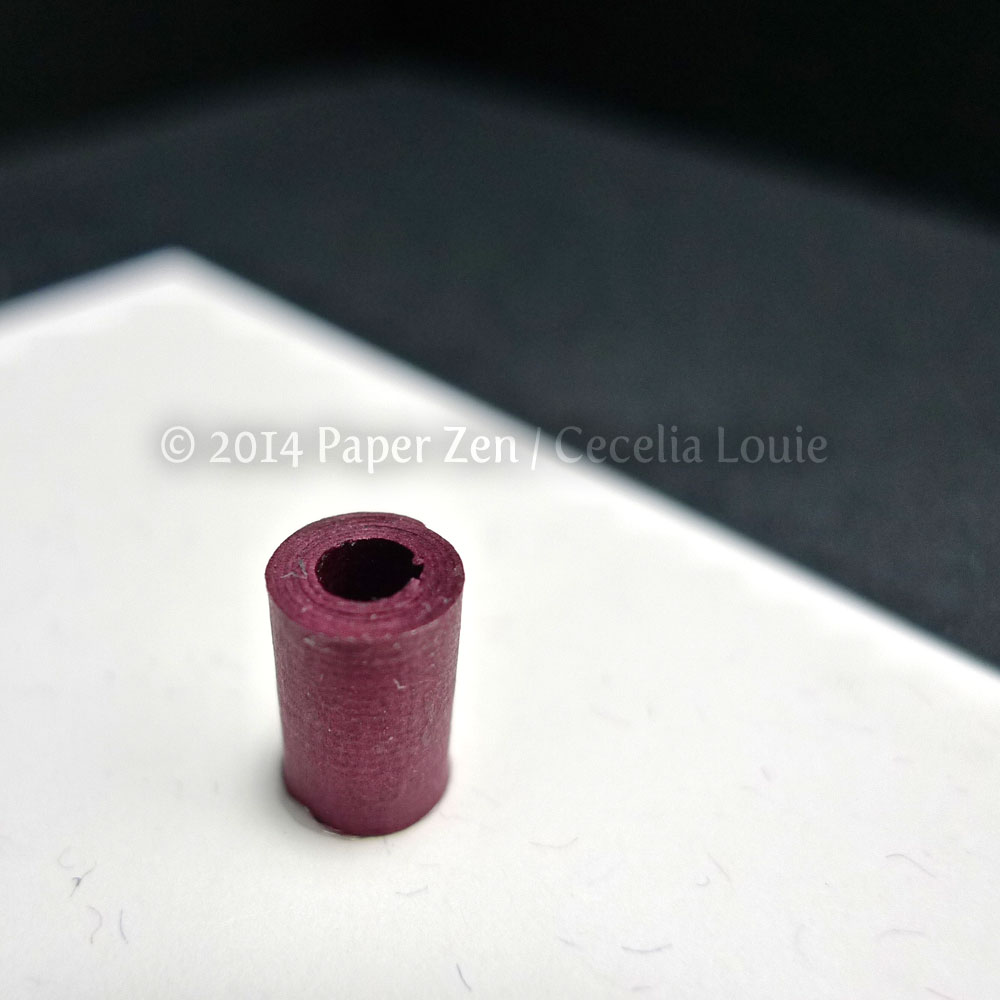
To prevent the skewer from skewing, I glued this rolled tube of cardstock below the galaxy backdrop. You may have noticed the backdrop being draped - that's so it photographs better without a distracting corner line.
If you're inspired to make Oeuf Couture too, I hope you'll let me know!
Mar 10, 2014
Featured on Make - Pretty Quilled Cards
I don't use Twitter, but if I did, I'm sure I'd be tweet-tweeting about this feature on MAKE. How cool is this? They are showcasing my Songbird Greeting card! There are so many occasions you can use this card.
For every project in the book, I supply an illustrated template at 100% so you can trace along with your quilling paper strips. Every element is labelled and matches a "Project Component" section. All you need to do is lay your quilling paper on top and score along the dotted lines, quill, then glue where the dots indicate.
Visit MAKE to download a PDF excerpt from my book, Pretty Quilled Cards. I really hope you're inspired to give quilling a try!
Mar 5, 2014
Happy (belated) Launch Day
My book officially launched yesterday and it reminded me of turning 13. Why was counting down the days to turn into a teenager? I dunno. I thought I would feel different. I didn't know what to write about my book being available for shipping yesterday, but I didn't want it to pass by without saying something to note the date. Yes, it was yesterday and so this post is a bit awkward, but if I have nothing to say, then I can't write.
So I dug around in my files today and remembered what I did near the end of my book. I forgot what I had considered the "holy grail" of solutions for leftover bits and pieces of quilled items that were going to get squished if I didn't glue it down immediately. I wish I had time to photograph steps of how I made these, but please keep in mind my room was overflowing with my book projects in various stages and my bits bin was exploding.
These cards are not my usual methodical style because I simply had no time to think – and that's what I think I like most, that they are more impulsive than the items I usually make.
See the circle in the middle with a message? That's included in the book
for a cupcake topper project. I used this one on this card because it
was off-center, and it didn't seem to matter because all the elements
behind it were so random.
All I did was turn the circled message upside down and glued my bits
hanging off the edge. I allowed the nice looking curls to do whatever it
wanted. Once I "outlined" my circle, I turned the whole thing over and
glued the patch down and added whatever stray coils on the side.
Here is one of my tester butterflies. I did most of my testing in white first until I liked the length of strip I used. To give the plain white butterfly some color, I patted it with an ink pad. I quite like how it gives it just a thin edge of color, almost like a halo.
After turning over this patch, I added extra swooshes on the top and bottom.
I was quite amazed at how quickly all my unmatched scraps got used up.
What I loved most was how it looked different once I turned it over. Strange but true! When you see all the coils from the back, it looks one way - flip it and it becomes something I didn't plan, kind of like a happy accident.
If anyone else has ideas of how to use up bits of quilled items, or if you are inspired to make something, I'd love to hear about it!
How to make your tissue box full (and retrievable)
This tutorial might be extremely banal and simplistic, but it solves a pet peeve of mine so I thought I'd share it anyway. Admitting I have a problem with things like this may say more about me that I want to admit! Does anyone else experience this?
After removing the first tissue, the second comes out nicely, ready to use. Halfway through the box, the tissue can't reach that far up, so stays down. I dig through the plastic slit only to continuously widen it further to the point of uselessness each time. The nearer I get to the bottom, the more frustrated I am by this ritual that I just dig the remaining batch out and toss the box.
To solve this inefficient eyesore, I kept a previously used box and flattened it. I scored new lines on 2 sides (one short and one long) to make the base just a tad smaller than original, so that it can fit into another box.
Once the same predicament happened again, I turned the half-used box upside down and inserted the trimmed older box into the new one and glued the tabs back in place. Ah, uninterrupted tissues ready for a sneeze!
Mar 1, 2014
Orchid Background Embossed with Big Shot
I was making an orchid for a 60th birthday card and was cutting 84lb Cover Starwhite Flash Pearl with the Silhouette SD. Normally I'd cut something thinner to make it easier on my machine, but I didn't have a lighter weight paper on hand that matched.
Due to the thickness, I set it to cut 3 times at full strength. It cut nicely enough until it snagged somewhere and then all the remaining cuts were off, ruining my design and card stock.
So I tried again, this time with 2 cuts at full strength. It didn't snag or misalign, but this time it didn't cut all the way. So for the entire design I had to manual cut the remaining fibers and at times my patience ran out and I yanked the bit out, leaving little torn bits behind. Looking at it with my Type A personality meant I wasn't happy with the bits. But which do I try again?
My friend recently bought a Big Shot and it came to my rescue! I used the same sheet I had just manually weeded and cranked it through, bits and all.
So, how many more sleeps until Christmas...
The orchid and leaves are made of Stardream paper. I dotted the deep purple paper with a gold ink pen.
Subscribe to:
Posts (Atom)


