

When joining corners in quilling, I usually end up snipping off the excess. However, when joining corners in letters, there is less leeway because it can offset other areas, causing the disruption to be noticeable in other parts of the letter. Here is a tip for the times when trimming the excess is not an option.

I use two pieces of plastic dividers (from my storage bins) and tape them together as shown, offsetting them to get a perfect 90° corner. Place the letter with the unjoined corner facing the plastic corner and practice the movement needed to bring the two ends together — don't kiss the glue yet!
When I say "movement", I simply mean that I often test what I plan to do before I commit to it. Testing how a join will happen allows me to if notice something is wrong (maybe I didn't trim at a 90˚ angle), and then I have a chance to fix it before I have to undo the work. It gives me a sense of confirmation without worrying about the glue drying.

After "kissing" (as shown in Part 1) my glue with the horizontal strip, I am placing the vertical strip (on left) up against the corner and then pinning it with my horizontal end. I then hold this in place for about half a minute until the glue has time to set and dry.
OK, I will admit that sometimes I'll take a peek ahead of time and ensure the join is to my satisfaction, and then hurriedly putting it back in place. I even run my tweezers gently along the join to press it more firmly together. If there is any glue seeping out from the join, now is the time to remove it with a tissue before it dries.

Here is my finished letter B. If this series helps you make quilled letters, I'd love to hear about it in the comments below.
My newsletter subscribers will receive a PDF pattern to make this letter B! To receive the download link, simply subscribe and confirm. A thank you email will be sent to you automatically after confirmation, where you'll find the download link (if you have any difficulty, please email me at paperzeninfo (at) gmail.com.
In my next post, I'll be showing how to quill the letter E.
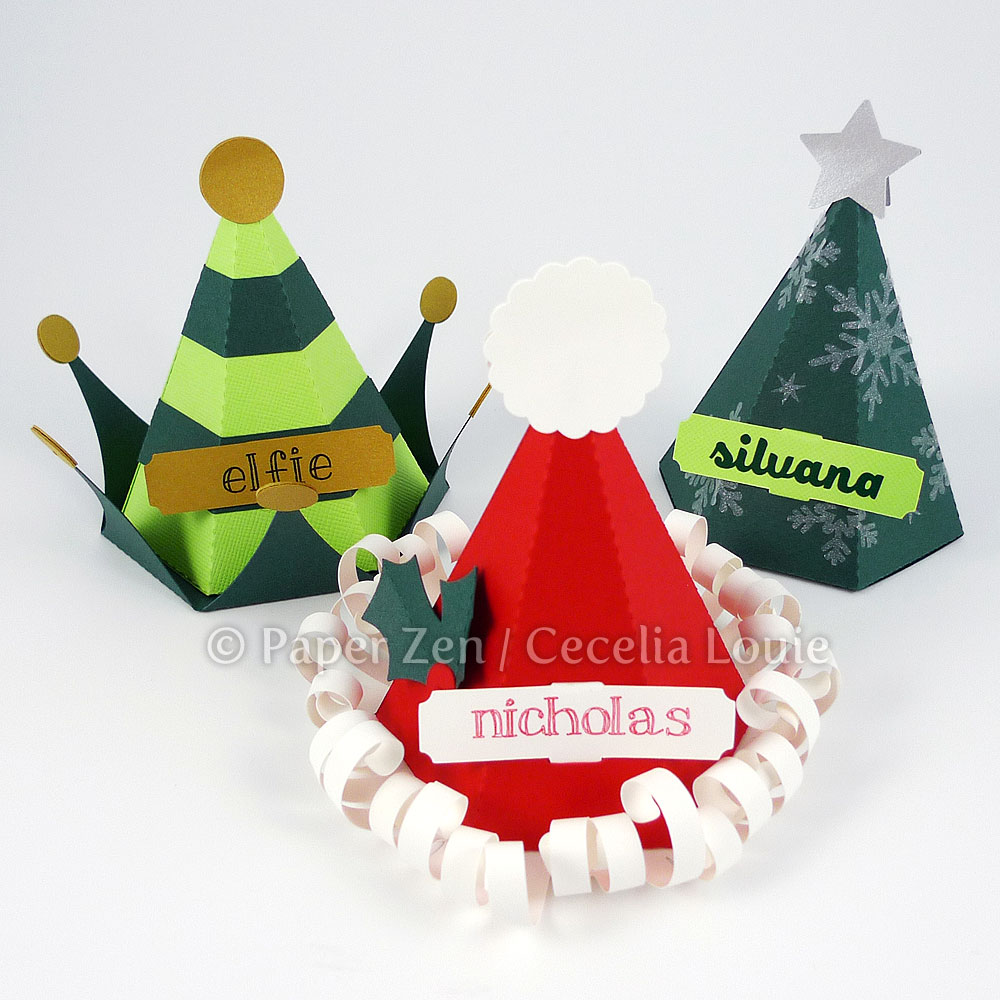
For those of you who enjoy my digital die cutting, here is a project in progress – party favor for treats in the shape of Santa's hat, and elf hat, and a Christmas tree. I'm so distracted decorating it!
Amazing perfection....thank you for all your tips - they really help!
ReplyDeletePaper Hugs,
Jan
Hey Jan, thank so much for letting me know you're enjoying these tips! :D
DeletePaper Hugs,
Cecelia
Thanks and sharing your methods it truly helps. Lovely lovely party favours.
ReplyDeleteHey Suganthi, so happy to see you here again! :D Thank you SO much for taking the time to let me know you're finding these little details are helpful! Sometimes I wonder if anyone cares to this degree?
DeleteHee hee, I'm loving decorating these party favours!
Excellent tutorial!
ReplyDeleteSo happy you think so Pily! Please let me know if it affects your work!
DeleteCecelia
Thanks for the very valuable infos...Much appreciated!
ReplyDeleteHi Sathya, I'm happy you're finding these tutorials helpful! Please let me know what else you'd like to see!
DeleteCecelia
Hi! What kind of paper will I use to form the letter?
ReplyDeleteThank you for this simple tutorial. ^__^
Hi Rowena, I'm happy to hear you're enjoying this new series! The paper shown here is Canson Mi-Tientes, #507 Violet, 160 gsm, 1/4" wide.
DeleteHi, I am rather new to quilling. I really love all the work around letters but I didn't know where to start. There wasn't a good enough tutorial to explain the details ... Until now. Thanks.
ReplyDeleteI wanted to ask how to have a color under the letters if printing in color is not an option.
Hello Javeria, welcome to the world of quilling! I'm happy you found this new series on letters, and finding it helpful!
DeleteAh, color beneath the letters without printing. Thanks for asking such a great question! I don't know what other people do, but since I have a digital die cutter, I cut 2 or 3 layers of cardstock and glue them on top of one another to make a thick letter. Then I carefully apply glue to that edge and glue my quilling strip against it.
I hope that helps you, and I hope I can make a tutorial about that one day.
Cecelia
Thanks a lot Cecelia for the detailed reply. I tried one layer of cardstock and the results kinda sucked. Thought it was my inexperience :s one factor also may be that I m hand cutting and that can't be perfect. I don't think I will be able to hand cut multiple identical layers though. I will give it a try though.
DeleteThanks again. You are wonderful.
Hi Javeria, yes, it is absolutely challenging to cut a cardstock letter so well by hand. If your letter happens to be the letter E, then it may be easier with all those straight sides.
DeleteHave you ever visited your local scrapbook store? Some in my area offer the use of their die cutting machines so you can cut out the letter you wish by cranking it through their machine.
Here is a post I did about how I glued all those layers together in alignment:
http://paperzen.blogspot.ca/2012/01/diy-custom-chipboard-letters.html
Please come back and let me know how it goes for you!
Cecelia
Hi Cecelia. Thank you for your excellent tutorial, very helpful and simple. Can you tell what kind of glue do you use?
ReplyDeleteHi there, I'm happy to hear you're finding my tutorials helpful! You'll be thrilled to see I continue them, and talk about glue right here: http://paperzen.blogspot.ca/2014/05/quilled-poppy-3-gluing-tips.html
DeleteGreat tutorial, what kind of glue do you use?
ReplyDeleteHi Sally, I'm happy to hear you're finding my tutorials helpful! Here is a post where I discuss more about glue: http://paperzen.blogspot.ca/2014/05/quilled-poppy-3-gluing-tips.html
Delete