Showing posts with label christmas. Show all posts

Dec 12, 2013

Gingerbread Man Christmas Card

BEFORE: A happy gingerbread man.

AFTER: ouch!


He was cut from discarded chipboard paper from work. Both the front and back are cut from one  letter size sheet (8.5x11"). Isn't it great that chipboard looks just like gingerbread dough?


All the icing is cut from white vinyl. His hat is cut from red and white card stock and glued on top. The m&ms were attached with a hot glue gun. White glue didn't work at all because it melts the candy color instead.

I had the most fun with his surprised eyebrows. However, after I finished cutting and assembling, I realized his eyes would have been better if they looked to the right more, at the missing foot. Oh well, there's always next year.

To ensure the front was a full and complete man, with no folds cropping his limbs, the front and back are separate. They are joined just at the tips with a perforation inset .5" from the edge to allow the card to be opened.

Oct 6, 2013

FREE Printable Snowflake and Candy Cane Party Favor Treat Box


I'm thrilled about the response I've been receiving from my free Halloween Ghost Party Favor pattern so of course I had to follow it up with a Christmas version! In this case, two patterns!


I'll repeat the steps here so you don't have to go back and forth:


1) After printing the file in color, you will need also need scissors, 1/8" hole punch, double-sided tape, and about 6 inches of 1/8" width ribbon.

2) Flip over the sheet (left to right). Place double-sided tape along the left edge and along the top right as shown by the arrows. Remove a small portion of the wax along the left and fold it down (do not remove all the wax yet).

3) Keeping your fingers on the waxed portion, roll the sheet into a tube, overlapping the gray diagonal lines. When it's aligned and straight, press the exposed adhesive. Gently pull more wax off, then press to adhere. Repeat until you have a completed tube.

4) Remove all the wax from the end of the tube.


5) Guided by the small gray line, pinch the top end closed.

6) Guided by the two small gray lines at the bottom end, pinch closed, then fold the end over toward the back. Unfold and fill with treats.

7) Punch a hole in the bottom middle. Fold your ribbon in half and thread it through partway. Take the ribbon ends and thread it through the folded ribbon, then pull until taut.

8) You're ready for a merry party!

Download my Printable Snowflake Party Favor PDF

If you'd like to make your own for a wedding or other occasion, I have a template and examples in a previous DIY post: http://paperzen.blogspot.ca/2011/01/diy-party-favor.html

I also  have 4 more patterns (elf, Santa, Frosty, and tree) in my shop.

Dec 17, 2012

3D Ornament Gift Tag

I've seen many wonderful 3D ball ornaments and thought it might also make a great gift tag. It's also a great way to use up small scraps of left over paper.

It's super easy to make. Just fold your circle/ornament in half and glue about 5 various colors to each other, then to the tag. The best part is that it's easy to re-fluff back up if it's been squashed by another gift.

Have a happy crafting season everyone!


Nov 21, 2012

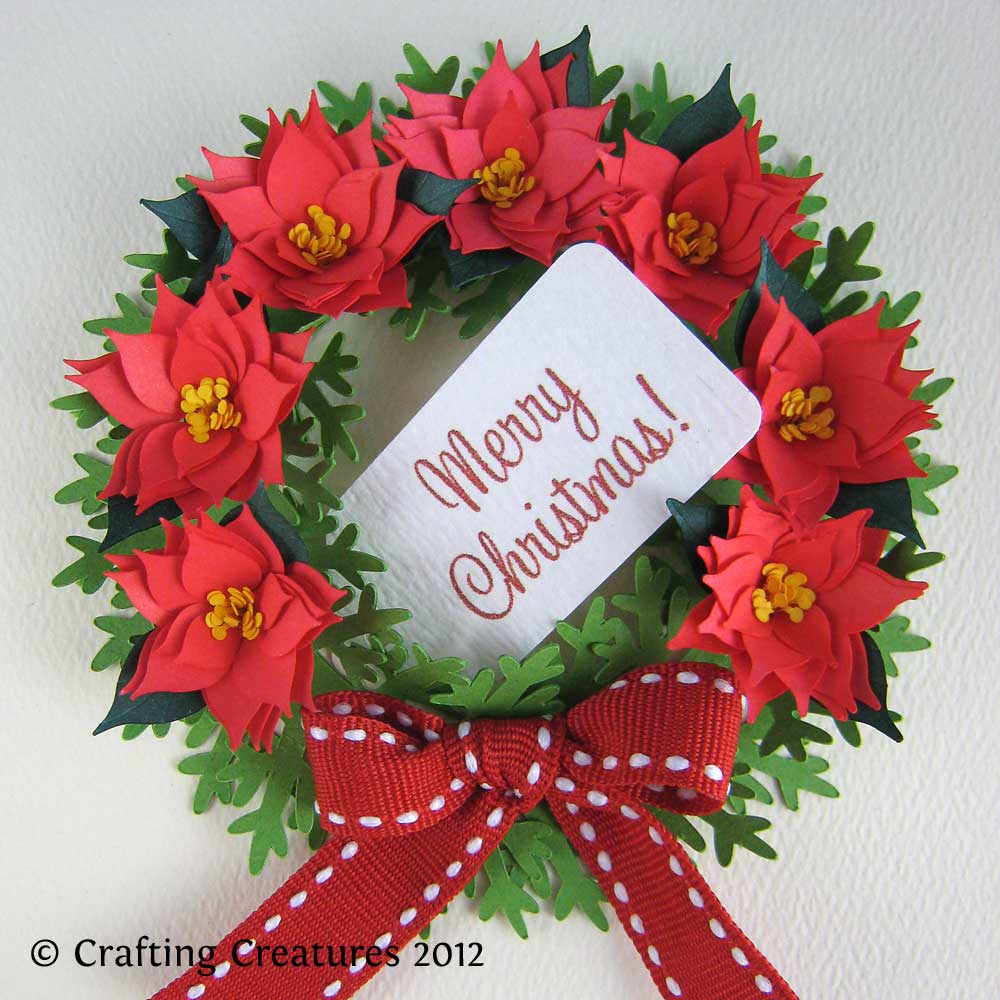
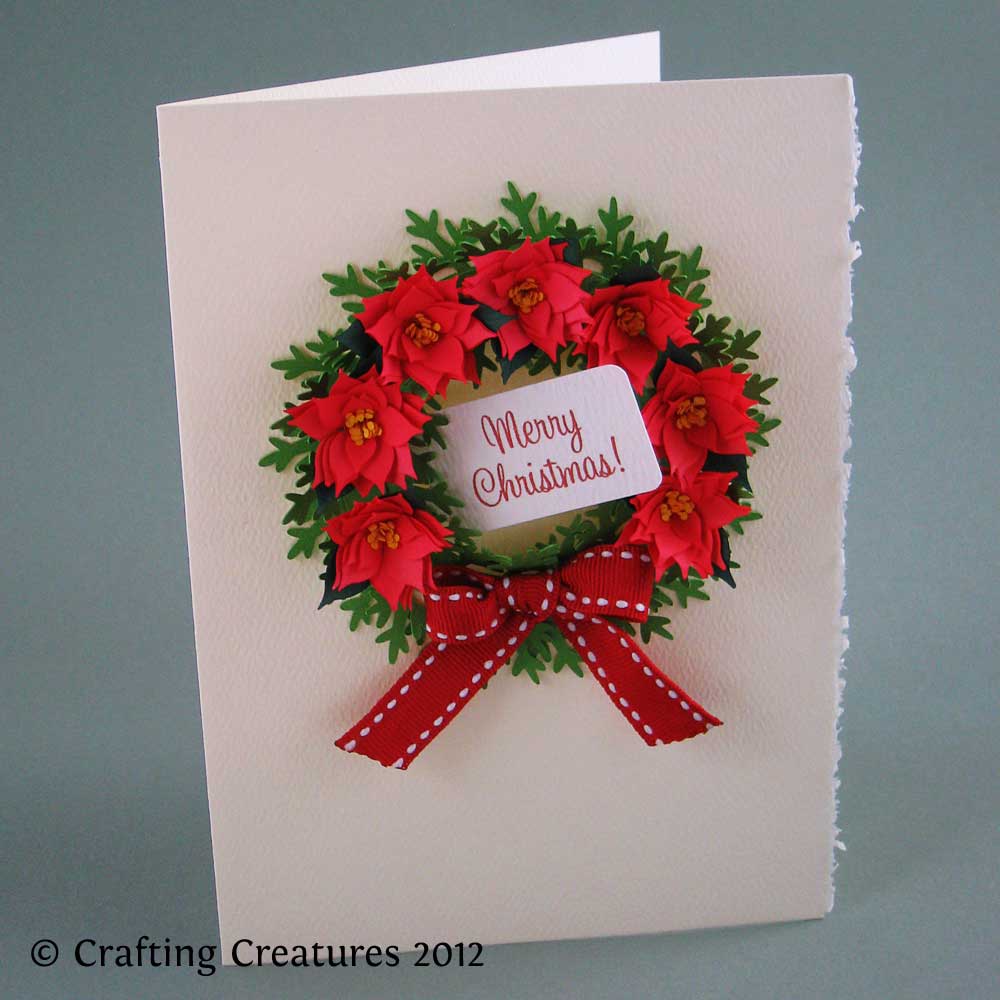
Paper Poinsettia and Wreath


Poinsettias simply say Christmas! The feedback I received for my fringed flowers was so overwhelming, I just had to make a Poinsettia version for Christmas cards.


These paper blossoms are designed as a fringed flower to be quilled into shape. The stamen, petals, and leaves are designed as one strip of paper to allow for quick rolling / quilling. Color markers were used on white 28 lb paper in these examples, however they can be cut from colored paper and the three parts glued into one strip.

The pine needle wreath is cut from two pieces of 80 lb paper and overlapped, then fluffed into shape to give the poinsettias a festive base. This example is a 5" x 7" card.


A regular envelope wouldn't do, so I made a windowed box to protect the blossoms.

Maybe I was a squirrel in a previous life, but as a little girl I loved boxes to hold things, keep secrets in them, and to give gifts in. This cube has a prepared hole for an enlarged version of the poinsettia. The cube is 2.5" x 2.5" x 2.5".


I don't bake a lot of cupcakes so this is about as close as I'd come to cupcake toppers. I have loved ones who are allergic to nuts and some who can't handle spicy foods. Instead of a quilling tool, I rolled the poinsettia in a toothpick, then glued in place. Added the warning flag at the bottom, and voila - food markers.


If you'd like to cut and quill paper poinsettias this Christmas, this Poinsettia Collection can be downloaded immediately via my store. I'd love to see what you make with my files, so drop me a line!