Showing posts with label glue. Show all posts
Jun 18, 2014
Quilled Ginkgo Biloba Cards and Letraset StudioTac Dry Adhesive
I've quilled the quietly serene ginkgo biloba leaves before here, here, and here in the past, but this new version is similar to the one in my book, Pretty Quilled Cards.
These two cards are ones that I made with the leaves I practiced on, but what I really wanted to show you was the subtly patterned paper beneath the leaves.
Sometimes during pre-press or printing, some highlights get blown out, which means no definition – as in the case of the ginkgo project. So I thought I'd show it here. Isn't it the perfect backdrop?
I got it at Daiso, my fave $2 store. They're meant for blotting tempura, but they are just gorgeous for an Asian feel without overpowering the card. It's a tad see-through, so I'd suggest using double-sided tape, spray adhesive, or Letraset Studio Tac/LetraTac to adhere to your card rather than glue.
I've used this dry adhesive for many years and still have the packaging from the first pad I got in college.
It's kind of like the Xyron, but low tech. Peel away the wax layer to expose some white dots. Place your item on top and press against the dots. Your item is now a sticker. I have found it's quite removable within the first day or two and the longer you leave it, the harder it will be to remove.
Here's a close up of the white dots. Hope that helps your project!
May 25, 2014
Quilled Poppy in Progress (4) & New Glue Love
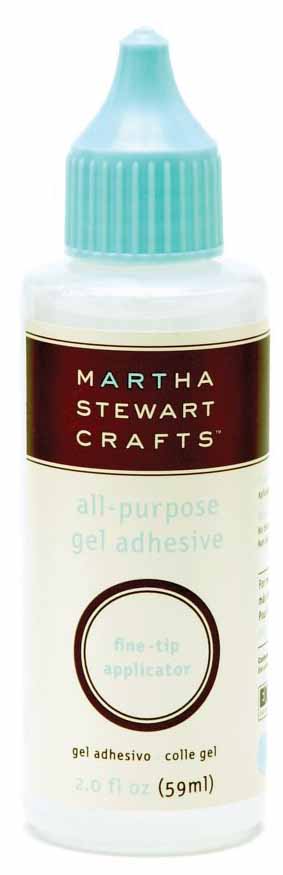
I'm in love with a new glue for quilling! Although the esteemed Ann Martin vouched for Martha Stewart's All-Purpose Gel Adhesive, at the time I was on a mission to find a thick, quick drying glue – so I think I pre-judged before giving it a proper chance, fearing it too wet for my liking. Now I plan to use several glues per project. Just look how thinly it spreads on my yogurt lid!
I dipped, dipped, and re-dipped far more times than would have been possible with my other white glues. When skin develops on my white glue, my frugal fingers yearn to quickly dip one last time, only to berate myself as I find skin scabs clinging to my strip – doh!
When skin is without a doubt going to prevent any more dipping in a particularly deep puddle of glue, I will sometimes even poke it like an urgent pimple, pumping the dregs to add that last tiny dab needed in some obscure spot – I guess I'm too impatient to uncork my glue bottle?
With this gel, it gets thicker as it dries, but without skin (just like Ann said). I tried to take a shot here to show you how I scraped the gel remnants and was still able to use it! This would have been impossible to do with the white glue.
Look how little glue shows on the edge.
And here's where I'm at today. Not as far as last time, more of an mini-update because I really needed to make a quick addendum to the glue posting.
Here's another thing I'm noticing about what I'm doing. I kind of outline with the darkest strips first to give myself a visual guide. Then I fill in with the medium and light strips. However, when I'm not consciously thinking, I notice my filling happens in the middle. So I deliberately make some strips closer to each other and not quite so parallel to give it a more random pattern.
Another example where I place some strips deliberately closer rather than in the middle.
Thanks for opening my eyes yet again Ann!
Subscribe to:
Posts (Atom)