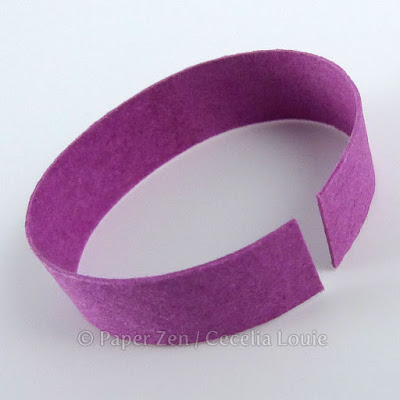
When I quill any letter in the alphabet of a sans serif font, I start in the corner to hide my seams — all except for the letter O. What to do when there is no corner?
In the photo above you'll see how I've "rubbed" the letter O into shape, and left the seams on the side (it's being shown sideways). Why the side and not on the top or bottom?
The tension of the O is greater there because of the rubbing needed to make the tighter curves. I will not need to rub as much along the sides, so it'll make it easier to join and shape.
After "kissing" my glue with the end, a gentle nudge from above makes the two ends meet. I've taped down my plastic piece to keep it from moving.
I like using my reverse tweezers here rather than my fine tip tweezers because of the flat nose. See how they grip the two ends and ensure they are aligned? My tweezers go where my fingers can't. Since they are reverse tweezers, I set it upside down on my table and allow it to dry hanging in the air while I tackle something else.
The reverse tweezers come in a Making Memories Tool Kit I bought years ago, and had thought I'd use more of the items in it. I sometimes use the hammer and hole punchers, but basically I've never stored my tweezers back in the kit because I'm always using it. I do enjoy the metal awl, but broke that a few weeks back (quilling is vigorous work!). That's why I ended up using the needle from the kit, and did enjoy the results on the Mi-Tientes paper, but my hand got tired more quickly – obviously I need to visit Michaels again.
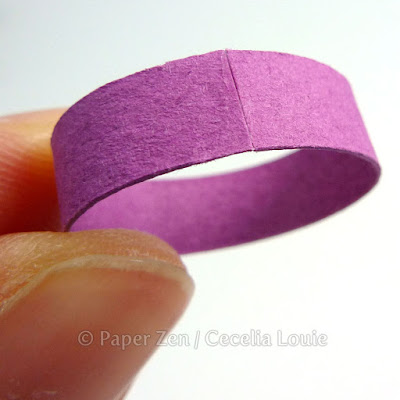
OK, here's the beauty shot of the join.
Ah, but I'll fess up here — I used Photoshop to clean it up for a pretty picture! What's that? You want to see the "before" shot?
OK, here it is without any touch ups. I glued my first, clean letter O down before I got some good photos. So these photos are of a second letter O, and my tools were not cleaned of glue - so don't forget to wipe them clean!
Remember, try not to feel discouraged when you're trying something new and it didn't turn out the way you imagined. Just the act of DOING is the learning that you are putting into your skill set, but you don't see that as readily. If you feel intimidated to start quilling, look at this photo and know that I'm always learning my lessons too!
The paper shown here is Canson Mi-Tientes, #507 Violet, 160 gsm, 1/4" wide.
If these tutorials are helping with your quilling, I'd love to hear about it in the comments below. Can anyone guess the word I'm quilling?
If you've been tempted to try one of Craftsy's classes, this is a good week to add this to your stocking stuffer wish list. ALL their classes are on sale for up to 50% off from Monday (12/21/2015) to Saturday (12/26/2015).


Hi Cecelia,
ReplyDeleteI'm wondering what that blue plastic piece is? I make due with whatever I have around but I like that tool!
-Kris
Hi Kris, I am the SAME as you! The blue plastic is a divider that I got from a fish tackle box from Canadian Tire. It's what I reach for every time because it's tiny, very stiff, and I can flake off the dried glue easily.
DeleteHere is a post that shows a photo of the kit I purchased for $7:
http://paperzen.blogspot.ca/2012/05/quilling-paper-storage.html
Thanks! After I asked this question I tried one of my son's Legos and I think I'm all set!
DeleteHi Kris, Lego is perfect for this too! Thanks for sharing that option with us all. Hope to see your masterpiece one day!
DeleteCecelia